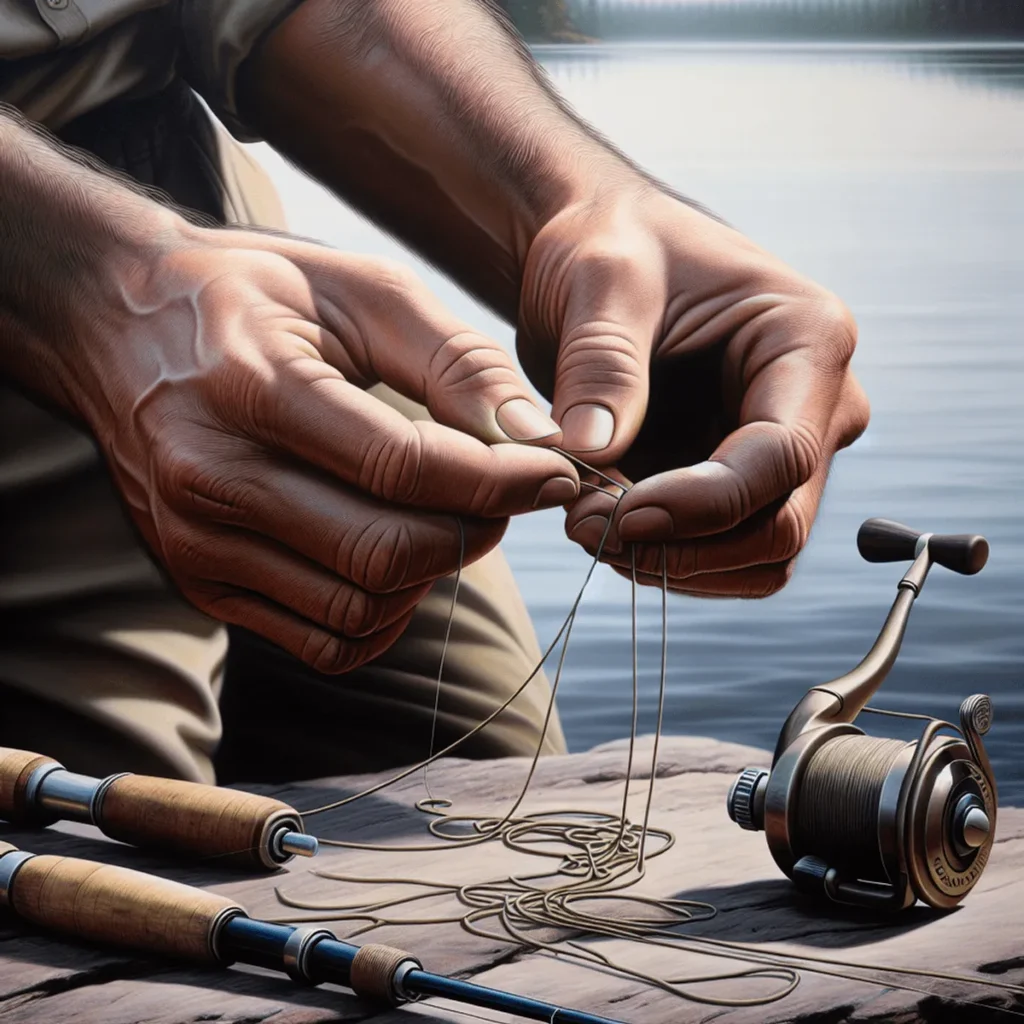
Knowing how to tie a fishing hook correctly is crucial for your fishing success. A well-tied knot ensures that your hook stays attached to the line, minimizing the chances of losing your catch. Poorly tied knots can lead to lost fish, wasted time, and frustration.
In this article, you’ll learn:
- Step-by-step guide on how to tie a fishing hook like a pro
- Different knot types and their applications
- Techniques to ensure your knots are tight and secure
Understanding these fundamentals will elevate your angling skills and increase your chances of landing more fish.
Understanding Fishing Hooks and Lines
Choosing the right fishing hook is crucial for success. There are various types of fishing hooks, each designed for specific purposes:
Types of Fishing Hooks
- Octopus Hooks: These versatile hooks are ideal for baiting with smaller fish or worms. The short shank and wide gap make them perfect for species like walleye or bass.
- J-Hooks: Commonly used in freshwater and saltwater fishing, these hooks are excellent for live bait and artificial lures.
- Circle Hooks: Known for their conservation benefits, circle hooks reduce the chances of gut-hooking fish, making them great for catch-and-release.
- Treble Hooks: Featuring three points, treble hooks are often used on lures to increase the chances of a successful catch.
Types of Fishing Lines
Selecting the appropriate fishing line is equally important. Different lines offer varied strengths and flexibility:
- Monofilament Line: This versatile line is easy to handle and knot, suitable for most general fishing applications.
- Fluorocarbon Line: Nearly invisible underwater, fluorocarbon is perfect for clear water conditions where fish are easily spooked.
- Braided Line: Known for its strength and durability, braided line is ideal for targeting large, hard-fighting species.
Understanding these elements ensures you select the right gear tailored to your target species and fishing technique.
Essential Fishing Knots for Tying Hooks
1. Improved Clinch Knot
The Improved Clinch Knot is one of the most common knots used in fishing due to its simplicity and effectiveness. This knot is ideal for securing your fishing line to a hook, lure, or swivel.
Step-by-Step Instructions
- Thread the Line Through the Hook Eye: Begin by threading the end of your fishing line through the eye of the hook. Pull about 6 inches of line through for easy handling.
- Wrap the Tag End Around the Standing Line: Make 5-7 wraps around the standing line with the tag end. The number of wraps can vary depending on the thickness of your line; thinner lines may require more wraps.
- Pass the Tag End Through the Small Loop: After making your wraps, pass the tag end through the small loop that was formed just above the eye of the hook.
- Thread Back Through Larger Loop: Now, take the tag end and pass it back through the larger loop that you just created by passing it through the small loop.
- Moisten and Tighten: Moisten the knot with water or saliva to reduce friction and ensure a tight, secure knot. Pull both ends of the line to tighten it down onto itself snugly against the eye of the hook.
- Trim Excess Line: Finally, trim any excess tag end close to the knot using a pair of scissors or clippers.
Best Practices
- Moistening: Always moisten your knot before tightening to prevent friction damage to your line.
- Number of Wraps: Adjusting the number of wraps based on line thickness ensures a secure hold.
- Tightening: Gradually tighten by pulling on both ends evenly; this helps avoid kinks and weak spots.

Fishing Conditions
- Clear Water: In clear water conditions where fish are more cautious, a well-tied Improved Clinch Knot ensures that your bait or lure behaves naturally.
- Heavy Cover: This knot performs well when fishing in heavy cover such as weeds or around structures because it maintains a strong connection.
- Light Tackle: Ideal for light tackle situations where precision and subtlety are key, making it versatile across various fishing styles and species.
By mastering this versatile knot, you enhance your ability to adapt to different fishing scenarios effectively. Whether you’re targeting bass in freshwater lakes or going after saltwater species near reefs, knowing how to tie an Improved Clinch Knot securely is crucial for any angler’s skill set.
Read Also:
- How to Cook Salmon Belly for Perfect Flavor and TextureSalmon belly is one of the most underrated treasures of the culinary world. Rich in omega-3 fatty acids and brimming with a silky, luxurious texture, this cut is often overshadowed… Read more: How to Cook Salmon Belly for Perfect Flavor and Texture
- How Much Does a Salmon Fillet Weigh? A Guide for CooksSalmon is a superstar in kitchens around the world. It’s flavorful, versatile, and packed with essential nutrients that make it a favorite for home cooks, seafood enthusiasts, and healthy eaters… Read more: How Much Does a Salmon Fillet Weigh? A Guide for Cooks
- Where to Buy Hot Smoked Salmon (Top Spots & Tips)Hot smoked salmon is a culinary favourite among foodies, seafood lovers, and home cooks alike. Its rich, smoky flavour and flaky texture make it an elegant yet approachable ingredient that… Read more: Where to Buy Hot Smoked Salmon (Top Spots & Tips)
2. Palomar Knot
The Palomar Knot is one of the most common knots used in fishing, celebrated for its strength and simplicity. This knot ensures a strong connection between your line and hook, making it an excellent choice for various fishing scenarios.
How to Tie the Palomar Knot
- Double about 6 inches of your fishing line, creating a loop.
- Pass the loop through the eye of your hook.
- With both the doubled line and tag end, tie an overhand knot above the hook eye.
- Ensure the loop is large enough to pass over your hook and bait.
- Pass the entire hook and bait through the loop.
- Pull both ends of the line tight to secure the knot.

Advantages of Using the Palomar Knot
- Strength: The Palomar Knot maintains nearly 100% of the original line strength, reducing the chance of breakage.
- Simplicity: Its straightforward tying process makes it ideal for both beginners and experienced anglers.
- Versatility: Suitable for various types of lines, including monofilament, fluorocarbon, and braided lines.
When selecting a knot for specific fishing scenarios, considering aspects like ease of tying and line strength is crucial. The Palomar Knot stands out as a reliable choice in diverse conditions.
Read Also: Do Fish Have Teeth? Types, Structures, and Adaptations Explained
3. Snell Knot
Mastering the Snell Knot can significantly enhance your bait presentation, making it a valuable skill for any angler. This knot is specifically designed for monofilament hooks and excels in situations where you need to deliver a natural-looking bait presentation.
Instructions for Tying the Snell Knot:
- Thread the Line: Pass the end of your monofilament line through the eye of the hook, ensuring you have enough line to work with.
- Create a Loop: Form a loop by bringing the tag end back toward the hook shank.
- Wrap the Line: Wrap the tag end around both the hook shank and the standing line 5-10 times, depending on your preference.
- Tighten: Pull on both ends of the line to tighten the wraps snugly around the hook shank.
- Secure: Ensure that all wraps are tight and secure, and trim any excess line.
This knot is especially effective when used with live bait or soft plastics, as it allows for an optimal bait presentation that can entice more fish to bite.

Situations Where Snell Knot Excels:
- Live Bait: The Snell Knot helps keep live bait in a natural swimming position.
- Soft Plastics: Ideal for ensuring that soft plastic lures move naturally in water.
- Strong Connections: Provides a strong connection that’s less likely to slip under pressure.
Utilizing this knot effectively can make a noticeable difference in your fishing success, making it one of the common knots used in fishing today.
4. Turtle Knot
The Turtle Knot is a common fishing knot, especially useful for small hooks and thin lines. It’s great when you need precision and delicacy in your fishing technique. For more detailed information on the Turtle Knot, you can explore additional resources.
How to Tie a Turtle Knot:
- Thread the Line: Start by passing the line through the hook eye from front to back.
- Create a Loop: Form a small loop by bringing the tag end of the line back parallel to the standing line.
- Wrap Around: Wrap the tag end around both lines (standing and loop) about 4-5 times.
- Pass Through Loop: Pass the tag end through the loop you initially created.
- Tighten: Moisten the knot slightly and pull on both ends to tighten it securely.
Read Also: The Truth About Fish and Drowning | Can Fish Drown?
Benefits of Using the Turtle Knot:
- Ideal for Small Hooks: The Turtle Knot’s structure makes it perfect for use with small hooks where space is limited.
- Thin Lines Compatibility: It works exceptionally well with thin lines, ensuring that they do not slip or weaken under tension.
- Secure Hold: Provides a firm and reliable connection between your line and hook, crucial for maintaining bait placement and increasing catch rates.
When picking a knot for specific fishing situations, consider factors like hook size, line thickness, and targeted fish species. For delicate situations needing precision, mastering the Turtle Knot can significantly boost your fishing success. You might also want to check out some other practical fishing knots here.

Tips for Effective Knot Tying
Ensuring your knots are tight and secure is crucial for a successful fishing experience. Here are some techniques to help you achieve this:
- Moisten the Knot: Before tightening, always moisten your knot with water or saliva. This reduces friction and helps the knot slide smoothly into place.
- Consistent Pressure: Apply even pressure when pulling the knot tight. This helps in maintaining uniformity and strength throughout the knot.
- Double Check: After tying, examine the knot closely to ensure there are no overlaps or twists that could weaken it.
Common mistakes can lead to knots slipping or breaking. To avoid these pitfalls:
- Rushing the Process: Take your time when tying knots. Rushing can result in improperly formed knots that are prone to slipping.
- Incorrect Wrapping: Ensure that wraps around the line are neat and tight. Loose or uneven wraps can compromise the knot’s integrity.
- Ignoring Line Type: Different lines require different techniques. Be mindful of whether you’re using monofilament, fluorocarbon, or braided lines, as each has unique properties.
Keeping these tips in mind will enhance your ability to tie reliable and durable knots, ensuring a more enjoyable and productive fishing trip.
Additional Fishing Tips
Preparing Your Gear Before a Fishing Trip
Ensuring your gear is ready before you hit the water is crucial for optimal performance. A well-prepared angler has:
- Inspected and cleaned rods and reels: Dirt and debris can affect performance.
- Checked all lines for wear and tear: Replace any damaged lines to prevent breakage.
- Organized tackle box: Keep hooks, lures, weights, and other essentials easily accessible.
Effective Bait Choices Based on Target Species
Selecting the right bait can significantly improve your catch rate. Here are some recommendations:
- Bass: Use live bait like worms or artificial lures that mimic small fish.
- Trout: Opt for natural baits such as insects or synthetic flies.
- Catfish: Stinky baits like chicken liver or specially formulated catfish bait attract them effectively.
Choosing the appropriate bait based on your target species ensures you’re using what they naturally seek out, increasing your chances of a successful fishing trip.
Read Also: How to Choose the Best Sputnik Fishing Weight for Surf Fishing
Understanding Local Fishing Regulations
Before you embark on your fishing adventure, it’s essential to familiarize yourself with local fishing regulations. These rules can vary widely depending on the area you’re fishing in, and they often include specific guidelines about the types of bait you can use, the size and number of fish you can catch, and the fishing methods allowed. For instance, this guide from Maryland’s Department of Natural Resources provides comprehensive information on local fishing regulations that every angler should know.
Conclusion
Practicing the knots discussed in this article regularly will significantly enhance your fishing skills and success rate. Mastering hook tying techniques is an essential skill set for any angler, providing a strong foundation for all your fishing adventures. Remember to:
- Practice different knots to improve your proficiency.
- Focus on how to tie a fishing hook securely.
By mastering these techniques, you ensure better bait presentations and stronger connections, leading to more successful fishing trips.
FAQs (Frequently Asked Questions)
Why is it important to tie a fishing hook correctly?
Tying a fishing hook correctly is crucial as it directly impacts your fishing success. A well-tied hook ensures that the bait is presented properly and increases the chances of hooking fish effectively.
What are some common knots used for tying fishing hooks?
Common knots used for tying fishing hooks include the Improved Clinch Knot, Palomar Knot, Snell Knot, and Turtle Knot. Each knot has specific advantages depending on the type of line and hook being used.
How do I tie an Improved Clinch Knot?
To tie an Improved Clinch Knot, follow these steps: 1) Pass the line through the eye of the hook. 2) Wrap the tag end around the standing line five to seven times. 3) Pass the tag end back through the loop created just above the eye. 4) Moisten and pull tight to secure. Clear illustrations can be found in detailed guides.
When should I use a Palomar Knot?
The Palomar Knot is best used when you need a strong connection between your line and hook, particularly with braided lines. It is simple to tie and provides excellent strength, making it ideal for various fishing scenarios.
What tips can help ensure my knots are tight and secure?
To ensure your knots are tight and secure, always moisten them before tightening to reduce friction. Additionally, double-check your wraps and ensure there are no twists or overlaps that could lead to slippage during use.
How can I prepare my gear effectively before a fishing trip?
Preparing your gear thoroughly involves checking all equipment such as rods, reels, and lines for any wear or damage. Ensure that your hooks are sharp and suitable for your target species, and organize your tackle box with effective bait choices based on what you plan to catch.


